How to Make Your Own Deep-Watering Pipe
A weekend project that can save up to 50% of the water you use on your trees. Costs about $30 for a set of five pipes.
How it works
The pipe is buried vertically next to a tree. You drill three sizes of holes along its length:
- Smallest holes (1/16") near the bottom -- water seeps slowly to the deepest roots.
- Medium holes (1/8") in the middle -- supply the mid-depth roots.
- Largest holes (3/8") near the top -- water reaches the upper roots quickly.
Because the water is delivered below the surface, almost none of it evaporates -- it all goes to the tree. The deep roots, which are the most important for tree health, get watered thoroughly.

Materials and tools
Everything you need is available at a hardware store like Lowe's or Home Depot.
- 3-inch corrugated drain pipe-- cut to your desired length
- Pipe cutter or hacksaw
- Drill
- Three drill-bit sizes-- 1/16", 1/8", and 3/8"
- Permanent marker-- for marking hole positions
- An empty Pringles can (with lid)-- used as the bottom cap and removable top
- Construction adhesive-- to attach the bottom cap
- Weed-protector landscape fabric-- wraps the pipe to prevent clogging
- Scissors
- Rope or strong thread-- to secure the fabric
- Garden gloves
- Shovel
Step-by-step instructions
Step 1 -- Cut the pipe
Use a pipe cutter or hacksaw to cut the corrugated drain pipe to your desired length. A length of 2-3 feet works well for most yards.
Step 2 -- Mark and drill the holes
Using your marker, mark hole positions in three zones along the pipe. Drill the smallest holes (1/16") near the bottom, the medium holes (1/8") in the middle, and the largest holes (3/8") near the top. Wear gloves and safety glasses.
Tip: if you accidentally drill a hole in the wrong place, you can simply flip the pipe upside down -- the design is forgiving.
Step 3 -- Cap the bottom with a Pringles lid
Use construction adhesive to glue the bottom of an empty Pringles can to the bottom of the pipe. This stops dirt from getting in and keeps water flowing out through the holes instead. Let the adhesive cure as the label says.
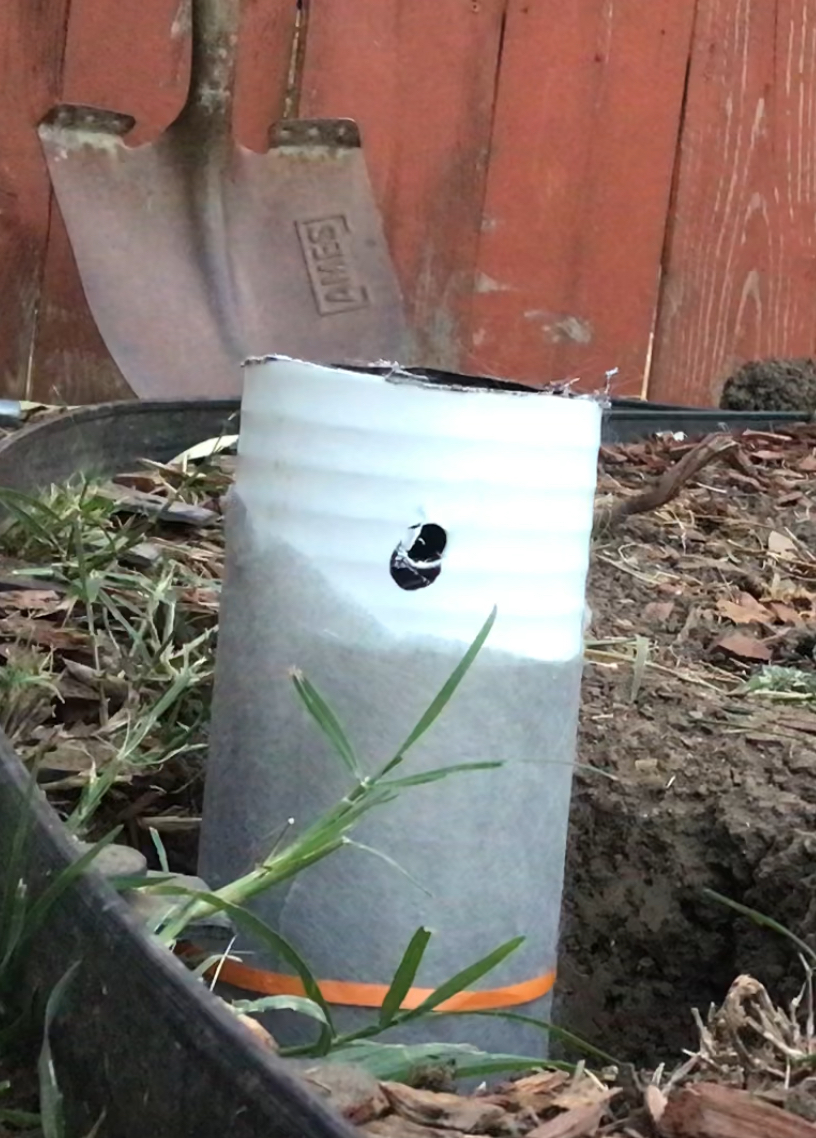
Step 4 -- Wrap with weed-protector fabric
Cut a piece of landscape weed-protector fabric large enough to wrap the entire pipe. The fabric keeps roots and soil from clogging the holes while still letting water through. Secure the fabric in place with rope or strong thread.
Step 5 -- Make a removable lid
Cut the Pringles can's plastic top so it sits snugly on top of the pipe as a removable lid. This keeps debris out between waterings and lets you top the pipe up easily.
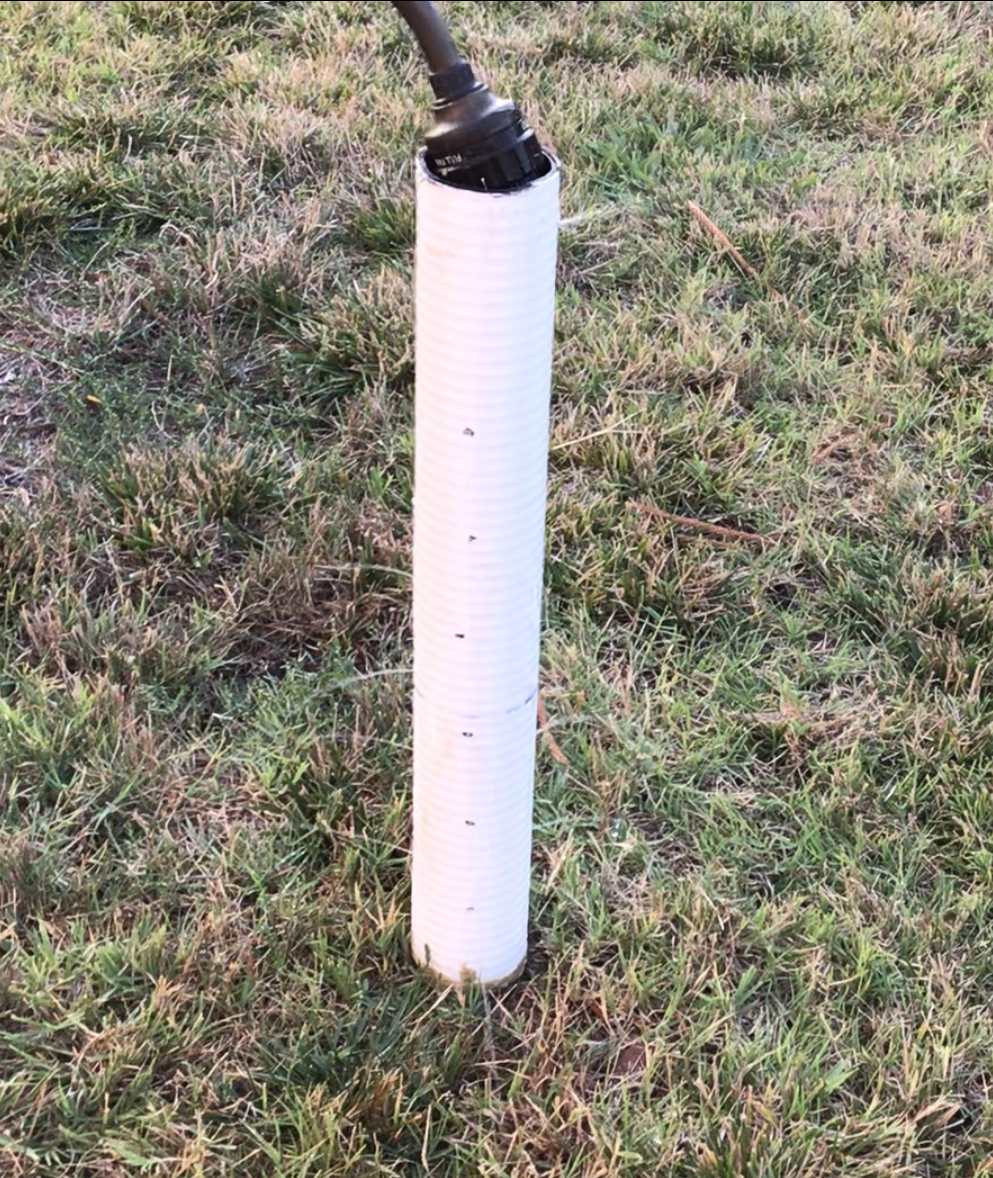
Step 6 -- Install it next to your tree
Use a shovel to dig a vertical hole next to your tree, roughly the depth of the pipe. Slide the pipe in so the top sits just at or slightly above ground level. Backfill around the pipe and tamp the soil. To water, pour water (or insert a hose) into the top opening.
A small mistake won't ruin your pipe. If a hole is in the wrong spot, flip the pipe. If you make one bad cut, keep going -- it still works. This project is meant to be approachable.
Next step: water your tree
Now that you've built your pipe, head over to the watering guide to figure out how many gallons your tree needs based on its size.